


By Ciara Barstow
Staff Writer
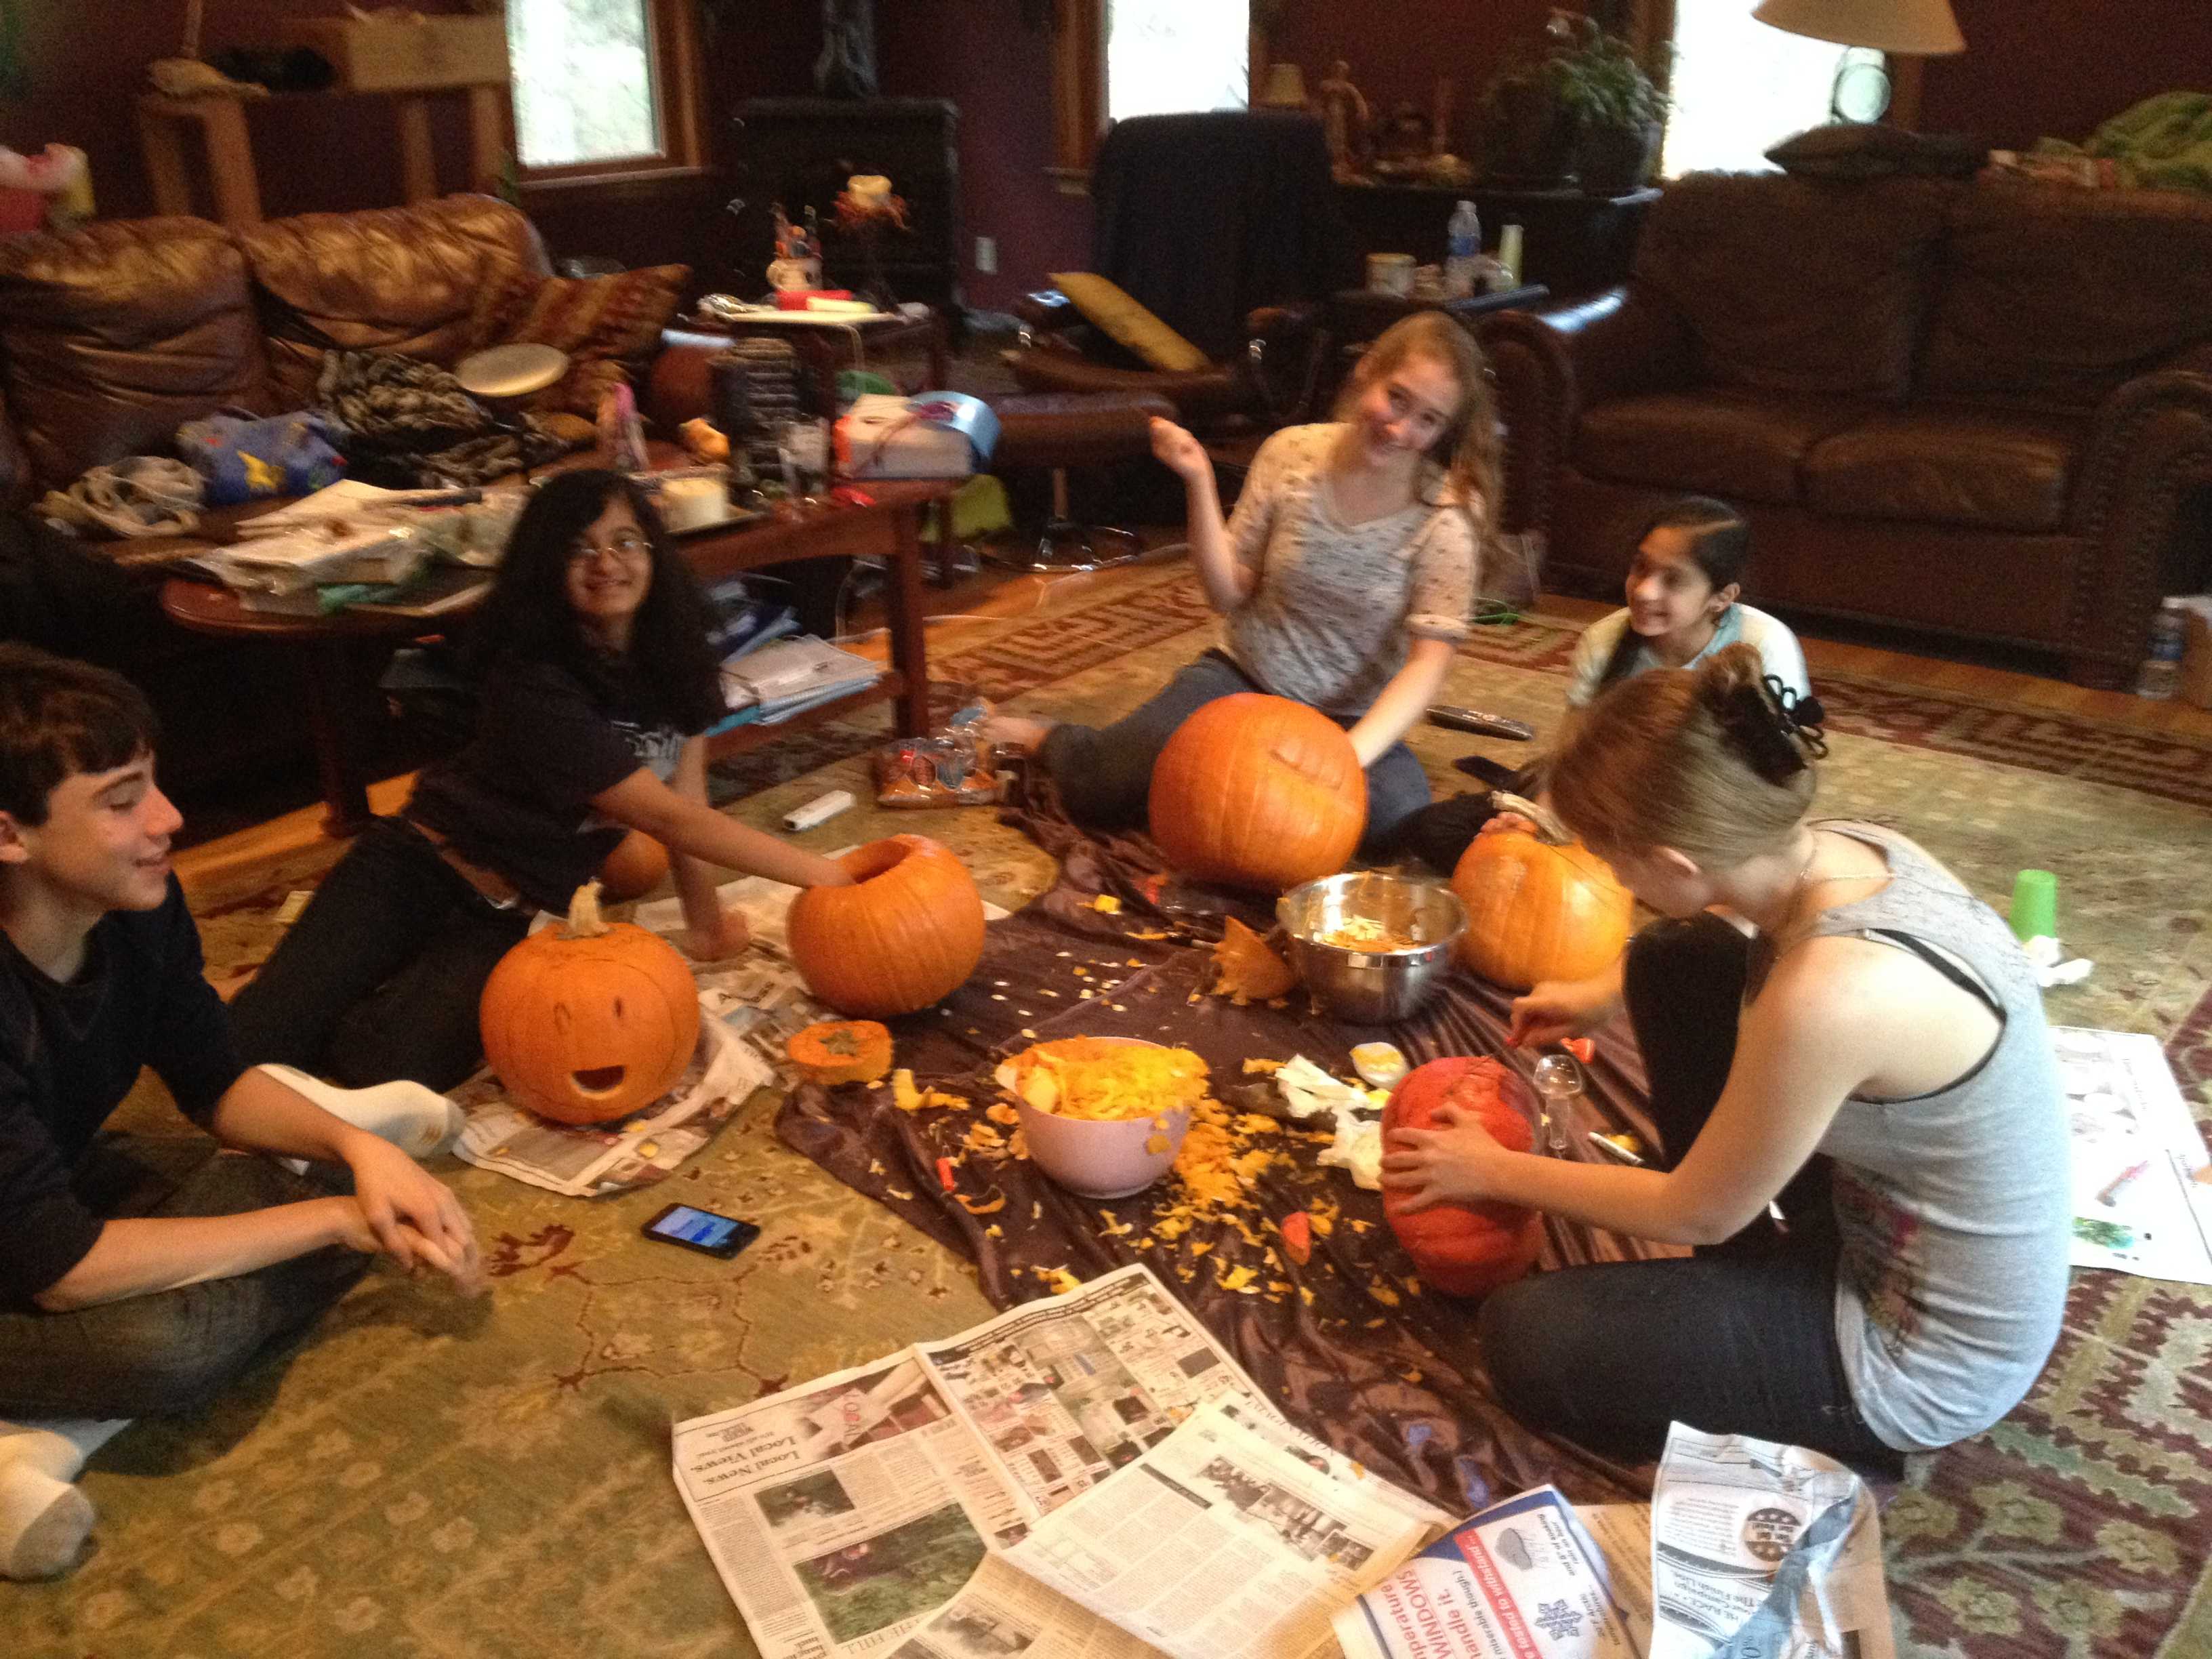
Carving jack-o-lanterns can be a messy project, but this craft bares both tricks and treats.
Pumpkin carving can prove to be an unpleasant experience if it is not approached the right way. Firstly, at this time of year, pumpkins are relatively cold, making carving somewhat hard to enjoy. In addition to that, sticking your hands into a mess of pumpkin guts isn’t the most comfortable sensation. Carving with the wrong tools can cause wrist pain, and scooping the stringy mass out of the gourd is strenuous and seemingly endless.
These materials, tips, and tricks that will help you avoid these hassles will also produce some tasty treats after the carving is done.
1: For the materials, have a tarp and old newspapers spread on top of it. Have a carving set with small knives with your materials. You’ll need a large knife as well as an ice cream scoop; the scoops provided with any set of carving materials are blunt and won’t suffice. Also, get at least one large mixing bowl for the pumpkin’s guts and a Sharpie or marker of the like.
2: While wearing gloves protect the hands from the somewhat unpleasant feel, you’re missing out on some valuable skin emollients. Besides, it can be fun getting your hands dirty for such a project.
3: When all your materials are set out, you are ready to begin! Follow the regular procedure to carve the pumpkin, starting with cutting the top off around the stem. Make the hole large enough to reach into with your scoop, but not so big that you would be taking off a third of the pumpkin. This is the hole you will take the insides out, but also, keep in mind that you will also have to put the top back on afterwards. Be very careful not to cut yourself, but also that you don’t cut the hole bigger than the top while working.
4: If you’re going to carve a specific design, have it printed out, sketched, or in mind. Don’t trace the image onto the pumpkin before removing the top, though.
5: Scoop out the insides and place them in the mixing bowl to sort from seeds afterwards. Make sure none of the stringy guts are still sticking to the inside, and then decide which side of the pumpkin you plan on carving.
6: Use the marker to sketch the plan, but do so accordingly so that pieces that appear to float are not cut from the pumpkin completely. Should you make this mistake, a trick to “suspend” these pieces is to stick toothpicks between the cut edges. This can also fix the problem if the hole of the pumpkin has worn away and the top no longer fits.
As for recipes that you can make with the pumpkins, the common pumpkin pies, breads, cakes, muffins, and spiced lattes take over the markets. However, many people overlook the fact that nearly every part of the pumpkin can be used. Roast the seeds with salt in a shallow baking dish, make a facial with the insides, or even construct your own Halloween decorations such as a scarecrow. It’s not too late to get your Halloween spirit on!